


ระบบเติมเงิน ระบบรายเด��ือนบุคคลธรรมดา บริการโรมมิ่งระหว่างประเทศ (International Roaming): แยก postpai...


ระบบเติมเงิน ระบบรายเด��ือนบุคคลธรรมดา บริการโรมมิ่งระหว่างประเทศ (International Roaming): แยก postpai...

ลูกค้าทรูแบบรายเดือน ไม่ว่าจะเป็นมือถือ True 5G, เน็ตบ้าน TrueOnline, ความบันเทิง TrueVisions หรือกล...

ลองนึกภาพว่าคุณกำลังยืนอยู่กลางเมืองโตเกียว ปารีส หรือโซล พร้อมมือถือในมือ แต่ไม่มีสัญญาณอินเทอร์เน็...

หน้าหนาวปลายปี เป็นช่วงเวลาที่หลายคนรอคอย เพราะอากาศเย็นสบาย บรรยากาศโรแมนติก ละเป็นช่วงที่หลายประเท...

ใครที่กำลังวางแผนเที่ยวต่างประเทศแบบ “ข้ามประเทศหลายจุดในทริปเดียว” อาจมีคำถามคาใจว่า… “ต้องซื้อแพ็ก...

ในยุคที่ทุกอย่างขับเคลื่อนด้วยอินเทอร์เน็ต การเดินทางไปต่างประเทศโดยไม่มีเน็ตติดตัว ก็เหมือนออกเดินท...
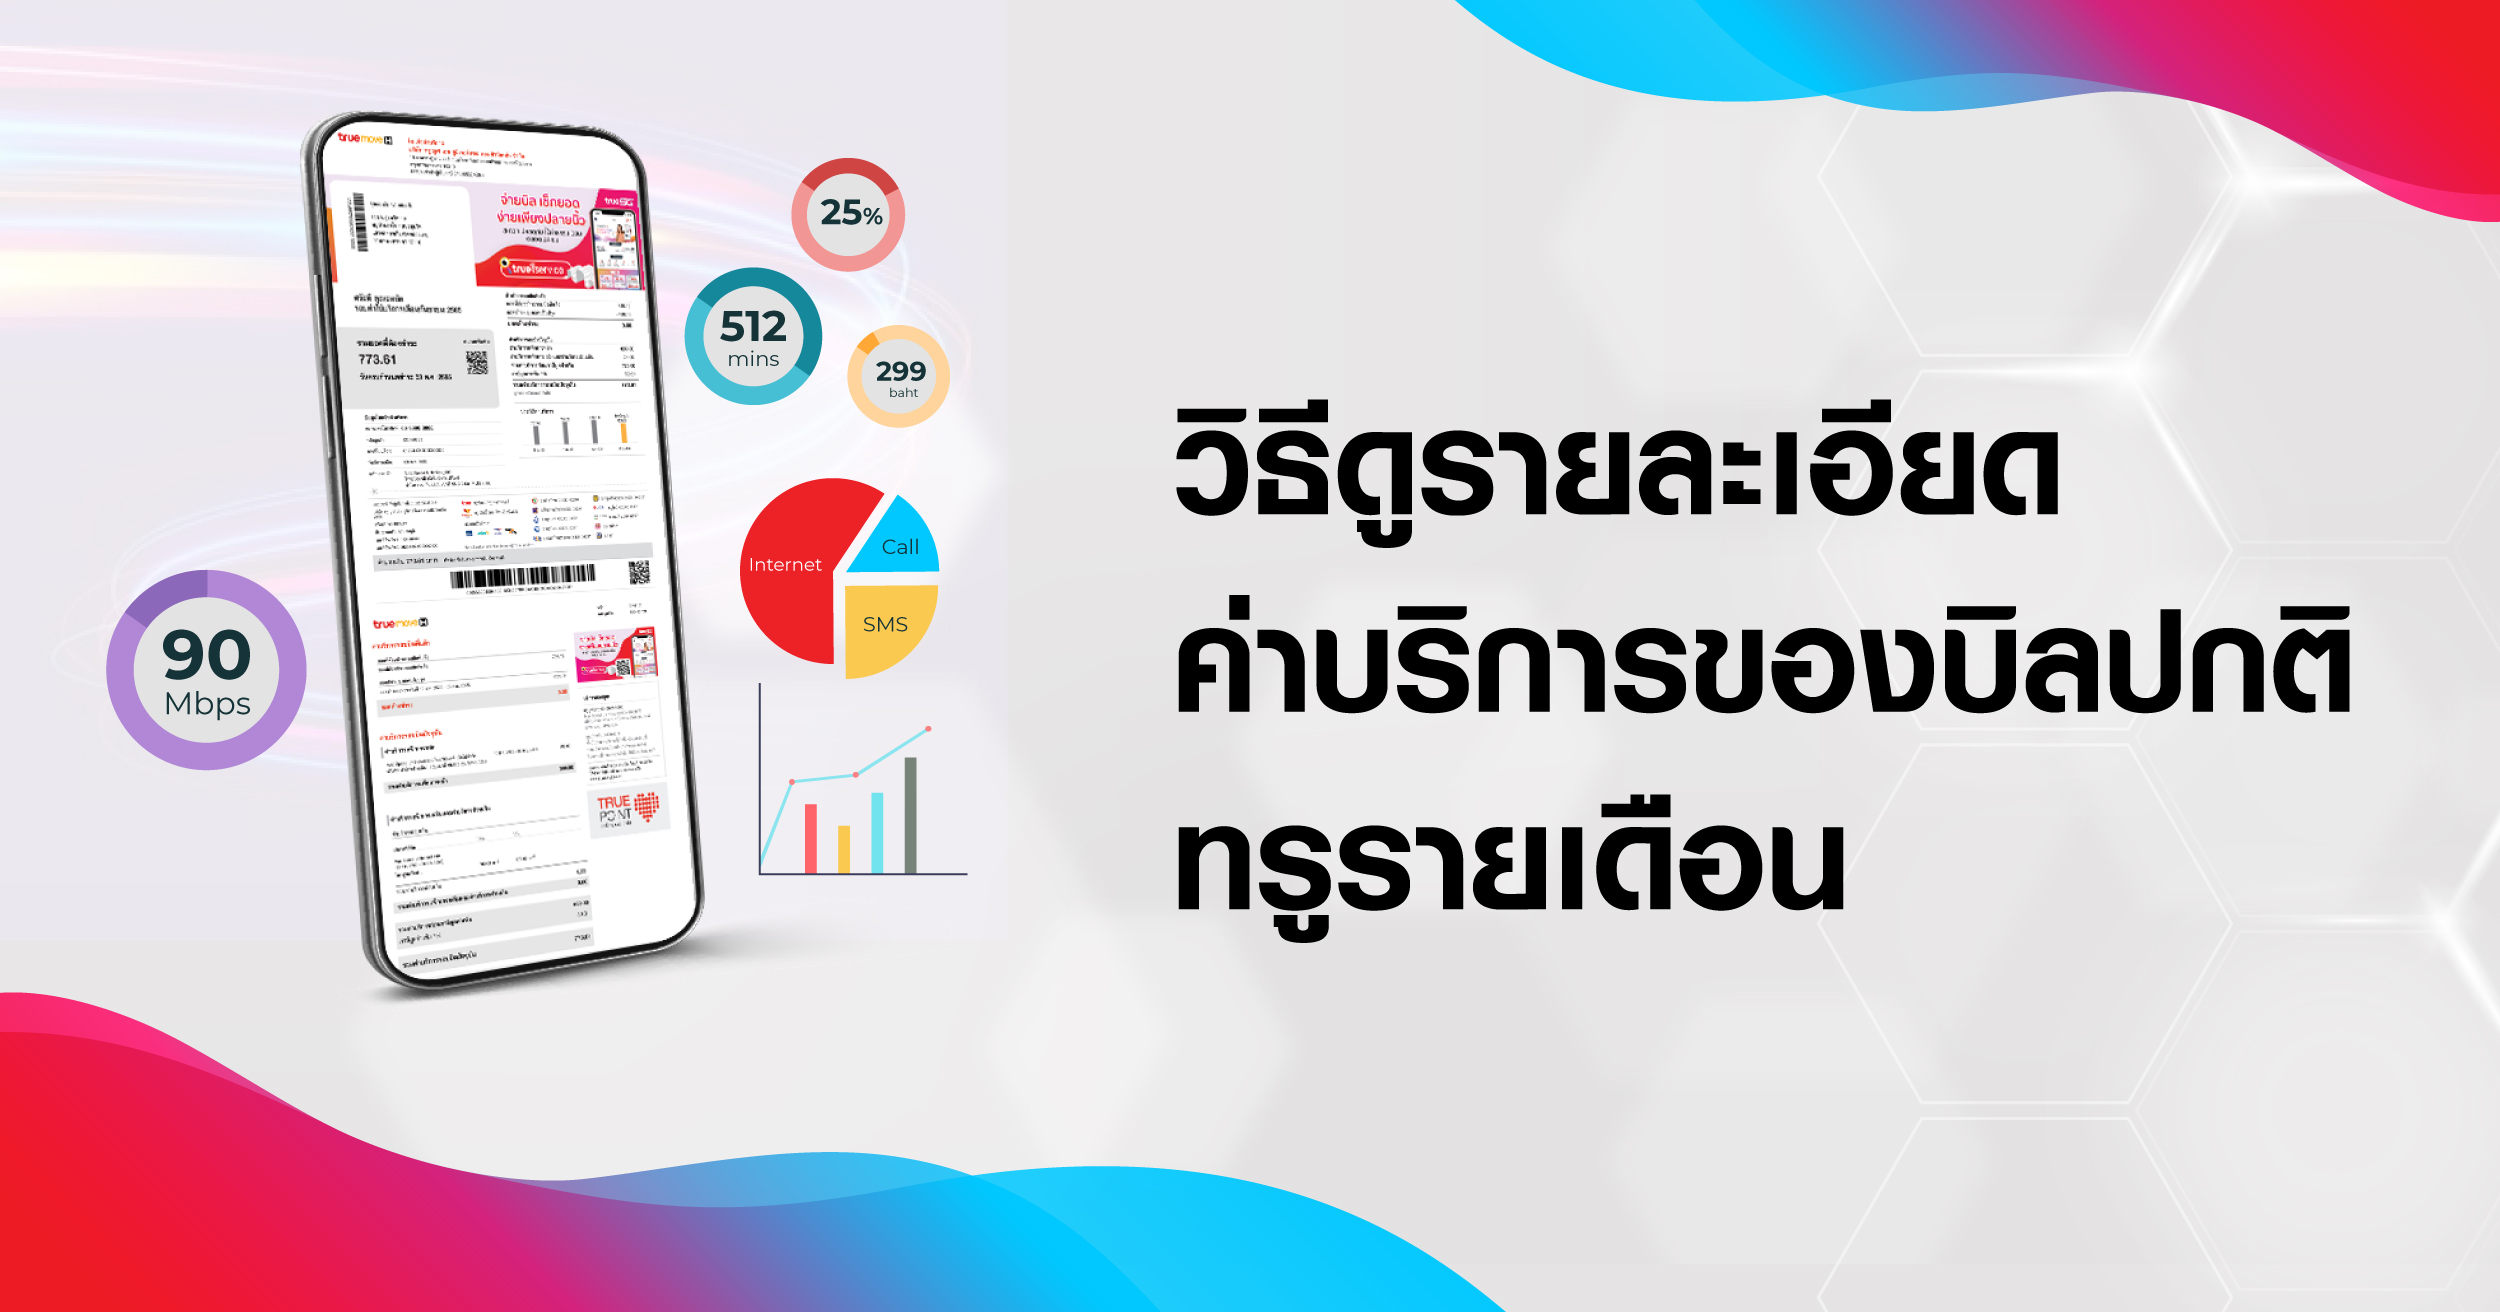
ลูกค้าทรูแบบรายเดือน ไม่ว่าจะเป็นมือถือ True 5G, เน็ตบ้าน TrueOnline, ความบันเทิง TrueVisions หรือกล...

ซื้อแพ็กเกจเสริมผ่าน แอปทรู ซื้อสินค้าร่วมรายการผ่าน ทรูสโตร์
ซื้อแพ็กเกจเสริมผ่าน แอปทรู ซื้อสินค้าร่วมรายการผ่าน ทรูสโตร์
ตามที่มีการเผยแพร่ข้อมูลผ่านสื่อสังคมออนไลน์เกี่ยวกับหมายเลข USSD *777*419#, *777*419*XXX# ซึ่งอ้างว...
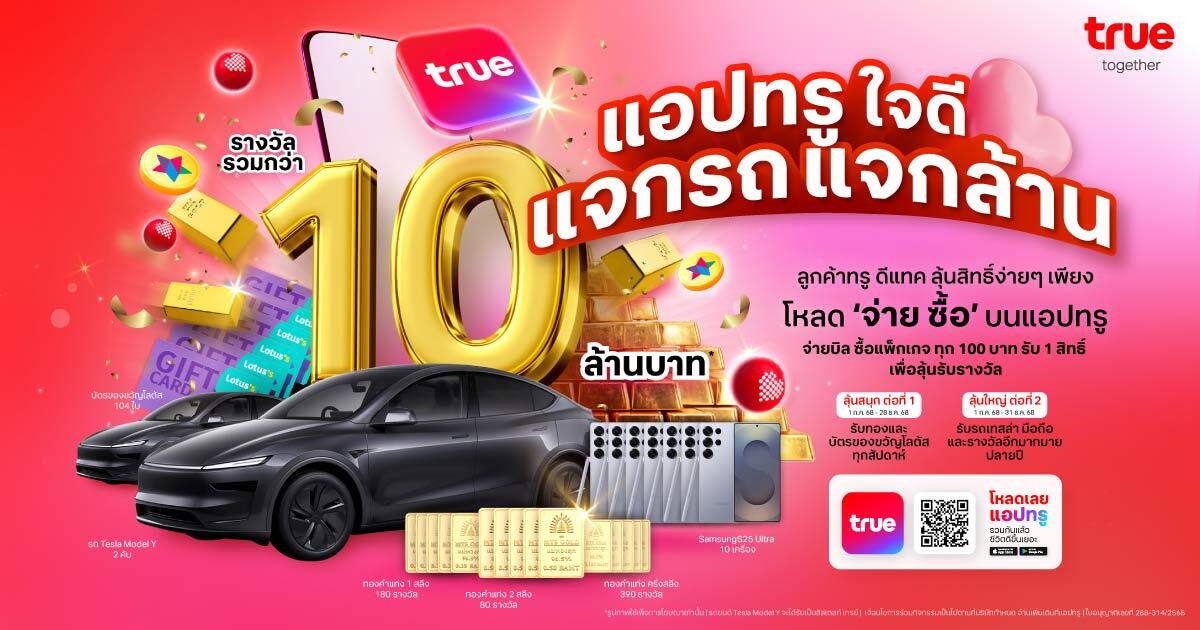
แค่จ่ายบิล ซื้อแพ็กเกจเสริม ผ่านแอปทรู (True App) ก็มีสิทธิ์ลุ้นรางวัลรายสัปดาห์ และลุ้นรางวัลใหญ่รถ...

ลูกค้าทรู ดีแทค ที่ต้องการเปลี่ยนชื่อเจ้าของเบอร์ ผู้จดทะเบียนซิมเติมเงิน สามารถทำเองได้ง่ายๆ ผ่านแอ...